Make Agar Plates

Price

Categories

Projects

How to Make Agar Plates: A Quick Guide

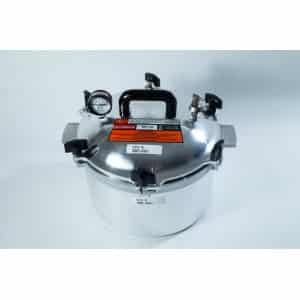
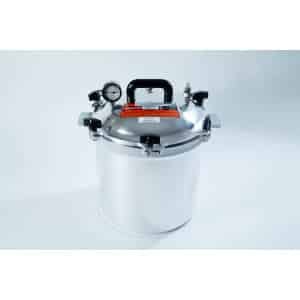
Agar plates are essential in microbiology for growing microorganisms. Here’s a brief, step-by-step guide to making them yourself.

Supplies Needed

  • Agar powder and nutrient broth
  • Sterile Petri dishes (100 mm recommended)
  • Heat-resistant glass container (e.g., Erlenmeyer flask)
  • Sterilization equipment (autoclave, pressure cooker, or microwave)
  • Gloves, graduated cylinder, alcohol, and disinfectant

Steps

  1. Prepare the Recipe: For a basic recipe, mix 28g of nutrient agar powder with 1 liter of distilled water in a glass container that’s twice the volume to avoid spilling.
  2. Sterilize the Mixture: Use an autoclave, pressure cooker, or microwave. Ensure the agar dissolves completely; otherwise, it may be squishy.
  3. Pour into Petri Dishes: Let the agar cool to around 50-60°C, then pour 25 mL into each dish. Cool until the agar solidifies.
  4. Store the Plates: Once set, stack them upside down in a plastic bag and refrigerate to avoid condensation on the agar.

Tips for Success

  • Use sterile techniques to prevent contamination.
  • Label and date plates for reference, and experiment with different nutrient mixes for specific organisms.

Making your own agar plates is a cost-effective way to study microbes at home. Enjoy your DIY microbiology lab!

Please enter your email address to receive your cart as a PDF.

Join Waitlist We will inform you when the product arrives in stock. Please leave your valid email address below.
    0
    Your Cart
    Your cart is emptyReturn to Shop
        SubmarkLogo_4