Make Agar Plates

Price

Categories

Projects

How to Make Agar Plates: A Quick Guide

Agar plates are essential in microbiology for growing microorganisms. Here’s a brief, step-by-step guide to making them yourself.

Supplies Needed

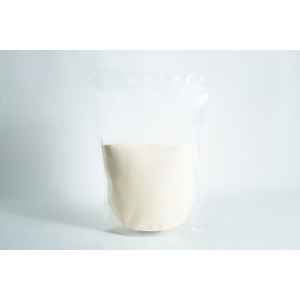
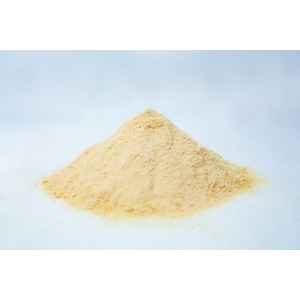
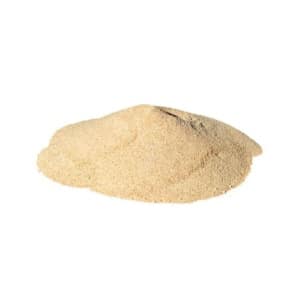
  • Agar powder and nutrient broth
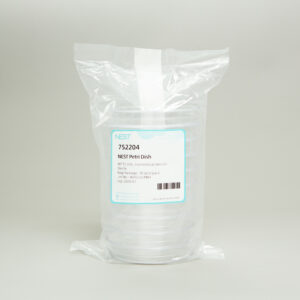
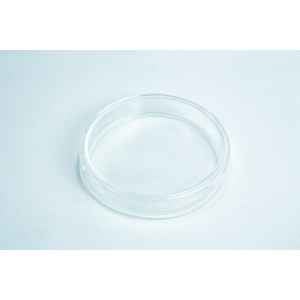
  • Sterile Petri dishes (100 mm recommended)
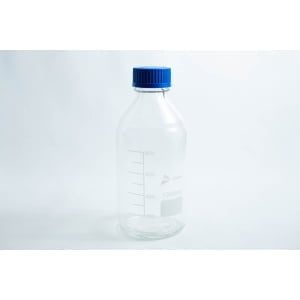
  • Heat-resistant glass container (e.g., Erlenmeyer flask)
  • Sterilization equipment (autoclave, pressure cooker, or microwave)
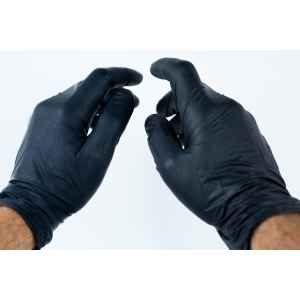
  • Gloves, graduated cylinder, alcohol, and disinfectant

Steps

  1. Prepare the Recipe: For a basic recipe, mix 28g of nutrient agar powder with 1 liter of distilled water in a glass container that’s twice the volume to avoid spilling.
  2. Sterilize the Mixture: Use an autoclave, pressure cooker, or microwave. Ensure the agar dissolves completely; otherwise, it may be squishy.
  3. Pour into Petri Dishes: Let the agar cool to around 50-60°C, then pour 25 mL into each dish. Cool until the agar solidifies.
  4. Store the Plates: Once set, stack them upside down in a plastic bag and refrigerate to avoid condensation on the agar.

Tips for Success

  • Use sterile techniques to prevent contamination.
  • Label and date plates for reference, and experiment with different nutrient mixes for specific organisms.

Making your own agar plates is a cost-effective way to study microbes at home. Enjoy your DIY microbiology lab!

Order these gloves only if you are ordering something else from our store, we do not ship them separately. Sent Loose as a pair.

Please enter your email address to receive your Quote.

Join Waitlist We will inform you when the product arrives in stock. Please leave your valid email address below.
    0
    Your Cart
    Your cart is emptyReturn to Shop
      Apply Coupon
        SubmarkLogo_4